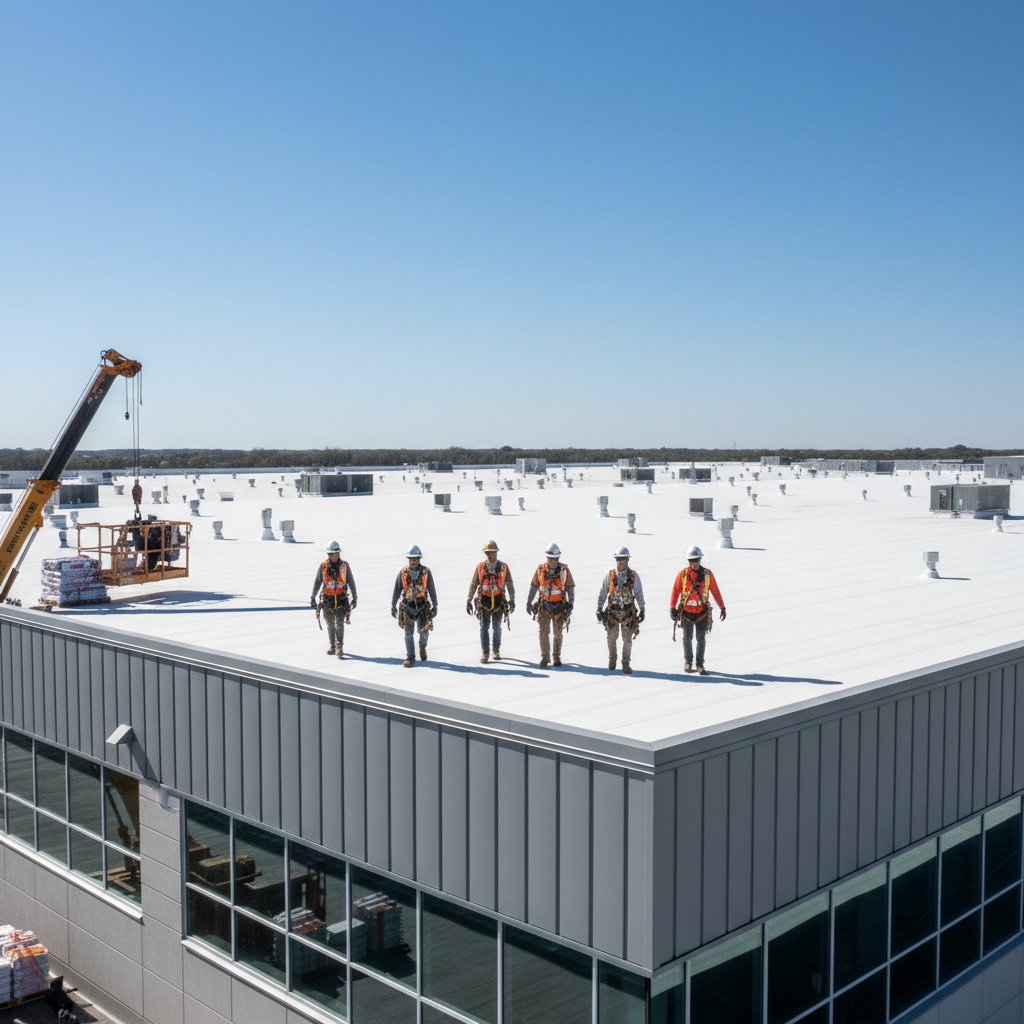
A comprehensive commercial roof inspection checklist helps facility managers maintain structural integrity by evaluating roof surfaces, flashing, and drainage systems for damage or debris. Regular assessments should focus on identifying ponding water, inspecting seams and terminations, and documenting interior signs of leaks to prevent costly repairs and extend the life of the asset.
Facility managers overseeing a portfolio of commercial properties often face a chaotic cycle of reactive repairs and unpredictable budget spikes. When you are responsible for multiple sites, a single overlooked leak can escalate into a structural nightmare that disrupts operations and drains capital reserves. Maintaining consistency across various geographic locations requires more than just a quick visual check. It demands a systematic, professional approach to asset management. At Bader Roofing and Construction, we understand that precision is the foundation of longevity. This guide provides a comprehensive, phased checklist designed specifically for multi site operators. You will learn how to evaluate interior indicators, assess membrane integrity, and inspect critical QSR specific penetrations. We also cover the essential role of digital documentation in streamlining your maintenance strategy and protecting your long term investments.
Why Multi Site Operators Need a Standardized Commercial Roof Inspection Checklist
Managing a portfolio of 20 to 200+ locations introduces a level of complexity that a single site owner never encounters. For facilities directors overseeing brands like Chick-fil-A, Burger King, or Olive Garden, the primary challenge is not just identifying a leak, but maintaining operational uptime and managing depreciation across disparate markets. A reactive approach, where a contractor is called only after a ceiling tile is ruined, is a liability for multi unit operators. Instead, a strategic approach relies on a standardized commercial roof inspection checklist to drive consistency across the portfolio.
This standardization is critical when dealing with diverse weather patterns, such as the heavy snow loads in Colorado versus the high humidity and wind events in the Midwest. By utilizing a uniform set of inspection criteria for facilities maintenance, directors ensure that every asset, regardless of its age or specific membrane type, is evaluated against the same high standards. This data becomes the foundation for long term capital planning. Rather than treating a commercial roof inspection as a simple repair assessment, it serves as a sophisticated tool for predicting roof life and justifying CapEx requests to corporate boards.
When every location follows the same protocol, you eliminate the variance in reporting that often plagues large portfolios. This uniformity allows for operator to operator coordination that prioritizes the most critical assets. Schedule an inspection to move from a defensive maintenance posture to a proactive asset management strategy that protects the bottom line and eliminates unexpected capital expenses.
Phase 1: Interior and Perimeter Assessment for Commercial Assets
A strategic commercial roof inspection checklist begins long before a technician climbs a ladder. For high-volume environments like QSR restaurants or retail centers, the interior of the building serves as an early warning system. Technicians must document water stains on ceiling tiles, evidence of mold, or unexplained humidity levels in kitchen or warehouse areas. Industry research regarding interior signs highlights a critical reality; water rarely travels in a straight vertical path. A stain in a dining room might originate from a failing penetration fifty feet away, moving along a joist or deck flute before finding an exit. Identifying these signals allows facilities directors to address sub-surface failures before they evolve into catastrophic interior damage.
The assessment continues with a rigorous exterior perimeter check. Inspectors look for vertical cracks in masonry walls, gaps in expansion joints, or signs of foundation settling. These structural shifts often telegraph future issues for the roof membrane, particularly at the transitions between the wall and the roof deck. By identifying exterior wall degradation or staining, we can predict where the roof edge metal or flashing is likely to fail next. This phase ensures that the eventual roof-level inspection is grounded in the physical reality of the entire asset, not just the membrane itself.
Phase 2: The Roof Surface and Membrane Integrity Checklist
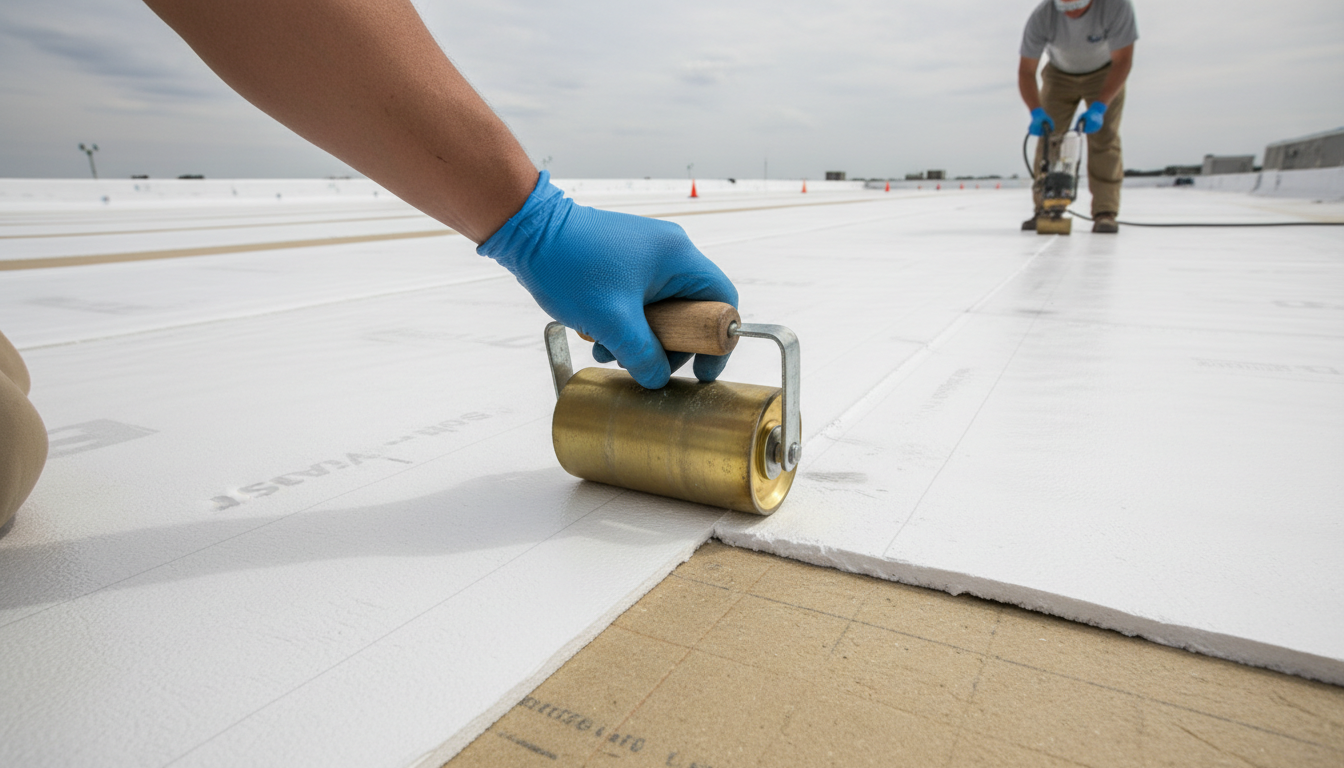
Transitioning from the perimeter to the roof field requires a technical eye for membrane behavior under stress. For portfolios standardized on Duro-Last PVC or Carlisle TPO systems, the commercial roof inspection checklist must prioritize identifying early signs of material fatigue. Technicians should scrutinize the field for punctures, which frequently occur during third-party HVAC or refrigeration service calls. Even a small tool drop can breach the weathering layer, leading to insulation saturation that compromises the entire assembly.
Beyond simple punctures, inspectors must evaluate the membrane's physical position and elasticity. Three specific indicators often signal the need for capital intervention:
Bridging: This occurs at transitions where the membrane pulls away from the angle change between the deck and a vertical wall or curb. It creates a "tent" effect that is highly susceptible to mechanical damage and splitting during freeze-thaw cycles.
Membrane Shrinkage: Over time, especially in the high UV environments of the Mountain West, PVC membranes can experience contraction. If the membrane is pulling hard against the fasteners or perimeter edge metal, it indicates the plasticizers are depleting and the system is nearing the end of its functional life.
Foot Traffic Wear: In high-maintenance QSR environments, the areas surrounding rooftop units (RTUs) are high-risk zones. If walk pads are missing, displaced, or inadequate, the membrane will thin rapidly under the weight of constant service traffic.
Condition | Indicator | Portfolio Impact |
|---|---|---|
Bridging | Taut membrane at wall transitions | High Risk of Splitting |
Punctures | Visible breaches in top ply | Immediate Leak Potential |
Shrinkage | Distorted fasteners or pulled seams | End-of-Life Indicator |
Surface Erosion | Exposed scrim or "crazing" | CapEx Planning Signal |
Understanding the extent of these issues is vital for facilities maintenance budgeting due to the 25 percent rule. If an inspection reveals that more than 25 percent of the total roof area is damaged, wet, or improperly repaired, most local building codes require a full replacement rather than a targeted repair. Catching these defects early via a professional commercial roof inspection allows operators to manage these thresholds proactively and avoid mandated capital outlays. If you suspect your portfolio has aging assets nearing this limit, Schedule an inspection to get a definitive condition score for your next budget cycle.
Phase 3: Flashings, Penetrations, and QSR Specific Considerations
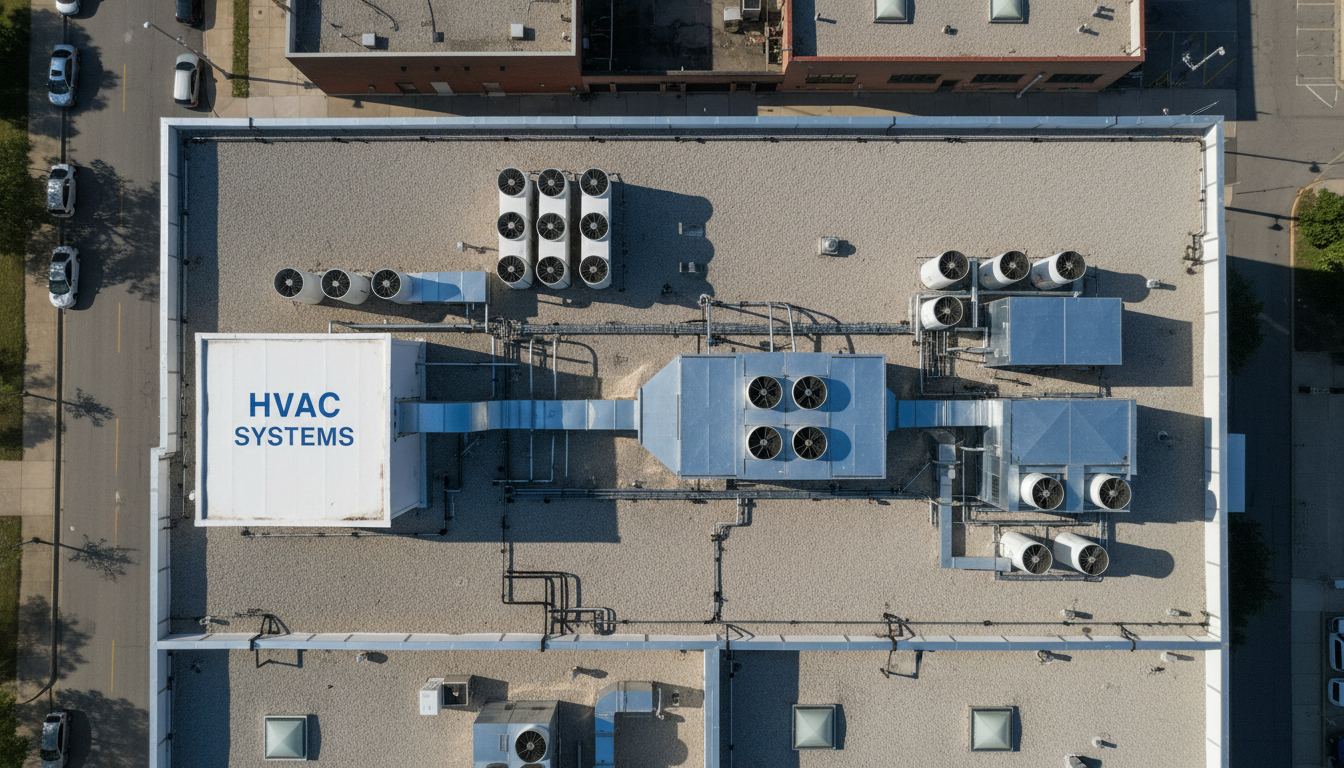
While the roof field provides the surface area, the flashings and penetrations provide the risk. Any commercial roof inspection checklist must prioritize the transition points where the membrane meets rooftop equipment. For multi-site operators, standard curb flashings and pipe boots are baseline requirements; however, for Quick Service Restaurant (QSR) portfolios, the inspection must focus heavily on grease management.
Kitchen exhaust fans are the most significant threat to a QSR roof asset. If grease containment systems are neglected or saturated, animal fats settle on the membrane, causing rapid grease degradation. These fats trigger a chemical reaction that acts like a solvent, softening the material and eventually liquefying the membrane into a sticky residue that destroys the waterproofing layer. An inspection should verify that grease traps are functional and that fan hinge kits are installed to prevent curb damage during routine kitchen cleaning.
Inspection Item | QSR Critical Check | Risk Factor |
|---|---|---|
Grease Vents | Membrane softening or discoloration | Material Liquefaction |
Exhaust Fan Hinge | Secure attachment to curb | Curb Flashing Tearing |
Pipe Boots | Cracked sealant or loose clamps | Direct Water Ingress |
Parapet Terminations | Secure termination bar and sealant | Wind Uplift and Perimeter Leaks |
Precision at the roof edge is what separates a standard contractor from a partner maintaining a 98.38 percent quality control score. Technicians must inspect the edge detail and terminations at parapet walls to ensure the membrane is mechanically fastened and sealed according to Duro-Last or Carlisle specifications. Failure at these termination points leads to wind uplift or perimeter leaks that bypass the main drainage system entirely. As part of your facilities maintenance routine, these details require a specialized eye to prevent localized failures from becoming portfolio-wide liabilities. If you manage high-volume kitchen assets, Schedule an inspection to ensure your commercial roof inspection includes a comprehensive grease-impact assessment.
Phase 4: Drainage Systems, Gutters, and Ponding Water
Effective water management is the most critical function of a commercial roof. A professional commercial roof inspection checklist must verify that scuppers, internal drains, and downspouts are entirely clear of debris. In the high volume QSR and retail sectors, even a minor blockage can lead to significant water weight accumulation. This is especially dangerous in the Mountain West, where heavy snow loads and subsequent melt cycles can lead to ice damming in gutters. When gutters freeze solid, meltwater backs up under the roof edge metal, bypassing the membrane and causing structural damage.
A key metric in any commercial roof inspection is the identification of ponding water. Defined as water that remains on the roof surface for 48 hours or longer after precipitation, ponding is a major red flag for facilities directors. Beyond the structural risk of weight, standing water acts as a magnifying glass for UV rays, accelerating the degradation of TPO and PVC membranes. Most manufacturer warranties from Duro-Last or Carlisle have specific clauses regarding standing water; persistent ponding can effectively void your coverage. As part of a robust facilities maintenance program, technicians should document these areas to determine if tapered insulation or drain adjustments are necessary to restore positive drainage. If you notice standing water on your assets after a storm, Schedule an inspection to evaluate your warranty compliance and structural integrity.
Documentation and Digital Reporting: The Professional Difference

Identifying ponding water or grease degradation is only half the battle. For a facilities director managing forty locations across three states, a paper checklist is an obsolete tool. Transitioning to a comprehensive digital commercial roof inspection checklist ensures that every asset is documented with time-stamped photo evidence and standardized condition scoring. This level of detail moves beyond simple maintenance; it creates a defensible record for capital expenditure (CapEx) requests. When presenting to a corporate board, having a professional commercial roof inspection report with graded priorities allows you to justify budgets based on empirical data rather than anecdotal repairs.
Report Feature | Facilities Management Benefit |
|---|---|
Photo Evidence | Visual verification for non-technical stakeholders |
Condition Scoring | Data-driven prioritization of capital projects |
Centralized Repository | Historical tracking of warranty and repair work |
Single Point of Contact | Streamlined communication for multi-unit portfolios |
Managing multiple local vendors leads to fragmented data and inconsistent quality. By utilizing a single partner for multi-unit coordination, you gain a unified point of contact who understands the specific standards of your facilities maintenance program. This expert oversight, backed by a 98.38 percent quality control score, ensures that every commercial roof inspection provides the technical insights needed for long-term planning. To standardize your portfolio reporting and eliminate data gaps, Schedule an inspection to receive a high-level assessment of your most critical assets.
Commercial Roof Inspection Frequency and Timing
Establishing a rigorous schedule for your commercial roof inspection checklist is the final step in eliminating operational volatility across a portfolio. We recommend a bi-annual cadence, specifically in the Spring and Fall. A Spring inspection identifies damage caused by heavy snow loads and extreme freeze-thaw cycles, while a Fall assessment ensures drains are clear and membranes are secured before the next winter cycle begins. This timing aligns with National Roofing Contractors Association (NRCA) recommendations and is essential for maintaining Duro-Last and Carlisle warranty compliance.
Beyond the calendar, post-storm assessments are mandatory. In the Mountain West and Midwest, high-wind events or hail can cause immediate, non-visible damage that only a professional commercial roof inspection will catch. Relying on a reactive strategy forces facilities managers into the emergency repair trap, where labor premiums and material surcharges can double the cost of a standard fix.
Inspection Type | Optimal Timing | Primary Goal |
|---|---|---|
Spring Routine | Post-thaw (April/May) | Identify winter expansion damage |
Fall Routine | Pre-freeze (Oct/Nov) | Clear debris and prep for snow load |
Post-Event | Within 48 hours of storm | Document damage for insurance/warranty |
Investigative | Upon interior staining | Trace sub-surface leaks |
A proactive facilities maintenance program typically extends the functional life of a TPO or PVC system by five to seven years. By catching minor issues before they breach the 25 percent damage threshold mentioned previously, you shift your department from a cost center to a strategic asset manager. To lock in your seasonal service window, Schedule an inspection before the next weather cycle impacts your portfolio.